How to Build
You’ve downloaded your plans and you’re ready to build. Each plan comes with instructions, so you can start with those. This page has more in-depth information which applies to all my designs.
(Don’t have plans yet? Go here to get them)
Materials
Paper: Stiff card stock. 200 gsm paper is good.
Printer: Laser or inkjet will work. You just need to get the design onto the stiff paper.
Cutting: Scissors are easiest. Hobby knife will work too, just don’t cut yourself.
Glue: I like Elmer’s Glue-all or Aleen’s Tacky Glue. I also tried various glue sticks, but didn’t like them. I had problems with joints failing after several weeks, as if the glue had dried out and was no longer holding the paper together.
Several sheets of scrap paper to keep glue off your desk and off the books you stack on the pieces while they dry.
A stack of heavy books to keep parts flat while they dry.
Paper towels to wipe up extra glue and keep your fingers clean.
Straightedge and a blunt object for scoring the paper where it needs to fold. A ballpoint pen works (but will leave ink on your plane). The back of a butter knife also works.
Basic Process
All the designs follow the same basic process:
- Print the design on stiff paper
- Cut out the parts
- Score and fold along any fold lines
- Glue the parts
- Let the parts dry
- Assemble the parts to finish the plane
Print the design on your stiff paper. No need to print the instruction pages, just print the pages with airplane parts on them.
Cut
Cut out parts with scissors or hobby knife. I suggest only cutting out parts as you need them to make it easier to keep them straight and not mix them up.
Score & Fold
If the parts have any fold lines, score them now and gently fold them. Run a ballpoint pen or the back of a butter knife along the fold line, pushing hard. Use a straightedge to keep the line straight. This compresses the paper and makes it easy to get a straight fold. Doing this before gluing makes it easier to fold the parts correctly after gluing.
Glue
Glue the parts together as shown in the instructions for the plane you’re building.
When gluing two parts together, be sure to evenly spread the glue across the entire area where the two parts meet so you get a strong bond. I use my finger to do this, then wipe my finger with a paper towel to keep it clean and avoid getting glue fingerprints everywhere.
It is helpful to have a piece of scrap paper under your pieces so that extra glue doesn’t mess up your table or desk.
If there are parts that shouldn’t be glued yet (like the tabs for attaching the wings), be careful not to get glue on them.
Let dry
Put the glued pieces between two clean pieces of scrap paper, then stack books on them to hold them flat as they dry. The scrap paper protects your books from excess glue that squeezes out under the weight of the books.
The body usually is built out of 5-7 layers. For your first plane, I suggest only gluing 2-3 layers together at a time. Then let them dry completely before adding more layers. When building your 2nd plane, there’s a shortcut you can try: Glue together pairs of pieces for the body and let them all dry, then glue the pairs together. You spend less time waiting for glue to dry, but it is easier to make a mistake and glue the wrong pieces together.
Assemble
Once you’ve built the body and the wings and they are dry, it is time to assemble them. Fold out the wing tabs and glue the wing on. You can’t stack books on the plane now, so you have to pinch the tabs and wings together for a minute or two until the glue dries out a bit and grabs. Then gently prop the plane up and let it dry completely.
You do the same thing to attach the tail.
Check Balance
Once the plane is assembled and all the glue has dried, there’s one last thing to check: how the plane balances front-to-back.
There’s a tiny triangle under the wings. If you support the plane by the wings at this point (use the tips of a pair of tweezers or bent paperclips), it should balance level. If it doesn’t, you may have to add a little bit of weight to the nose or tail to get it to balance.
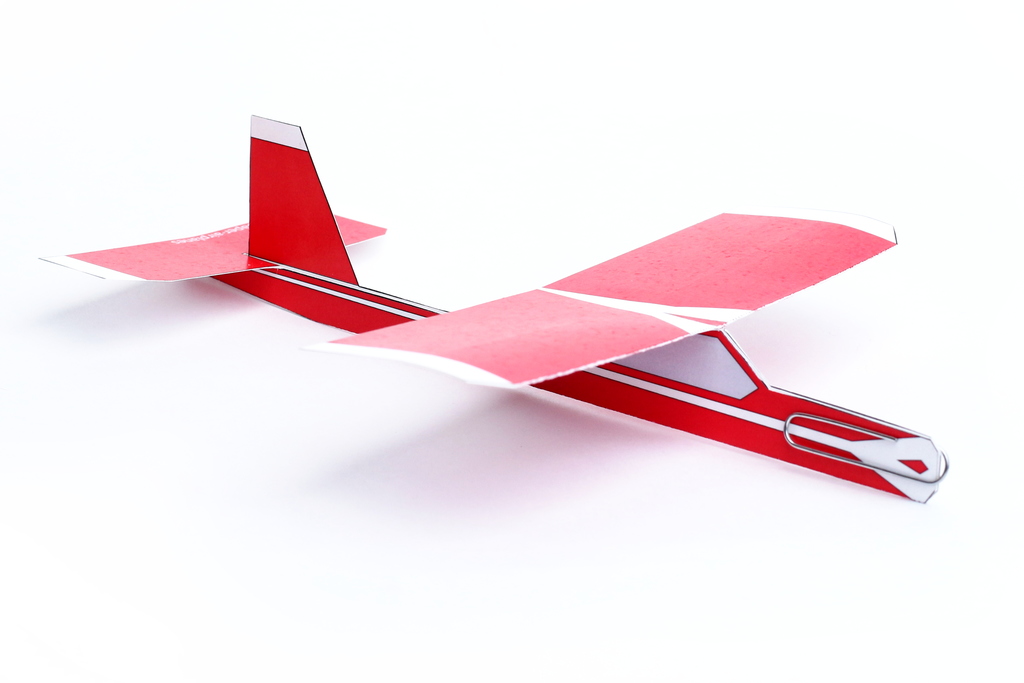
I like using a tiny piece of sticky poster tack. A small amount of clay would also work. You could also glue another piece of paper on the nose or tail to add weight. The Red Rover uses a paper clip to add weight.
Ready to fly!
Go read the trimming guide to get started.
Happy flying!