Paper Plane Flight School: Basic Trimming
After building a plane, you need to adjust it to fly well. The shape of several parts of the plane is critical! To get the best performance, you must carefully bend these parts to exactly the right shape. This process is called trimming.
You’ll have to repeat the trimming process any time the plane’s shape changes: after the plane has been stored for a while, after a hard landing, if it gets damp from dew, etc.
Fortunately, trimming is straightforward. It will soon become second nature and you’ll find yourself making slight adjustments to the plane after every flight.
(Don’t have a plane yet? Go here to get one)
The Goal
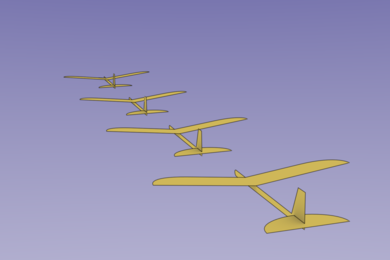
- If thrown gently, plane glides stably (not climbing or diving)
- If thrown faster, plane pulls up
- Plane turns slightly left (or right), flying in a circle.
Steps
Trimming starts by focusing on the largest problems and works towards finer and finer refinements. Here’s the basic approach:
- Visually check that everything is symmetric.
- Do a series of test flights & adjustments to make the plane glide straight and level.
- Make the plane turn in a gentle circle.
Step 1: Visual Check
First, look at the plane and make sure everything is symmetric between left & right sides.
Look at the plane from the top.
- Both wings should be the same length
- Wings shouldn’t be skewed at an angle (one wing further forward than the other)
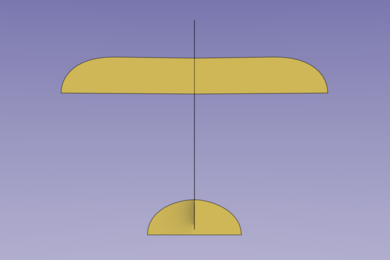
Look from the front, then from the back:
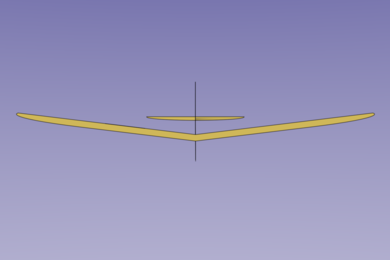
- Trailing edges of both wings should look the same
- Leading edges of both wings should look the same
- It shouldn’t look like one wing is twisted compared to the other.
- Horizontal stabilizer shouldn’t be skewed, one side higher than other
- Horizontal stabilizer should be flat, no uneven curves
- Vertical stabilizer should be flat (not bent or curved)
- Fuselage should be straight (not curved or bent)
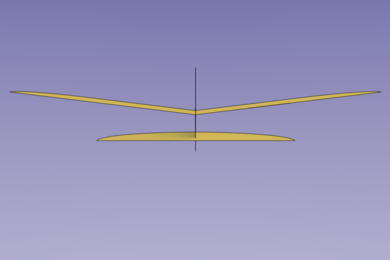
Look from both sides:
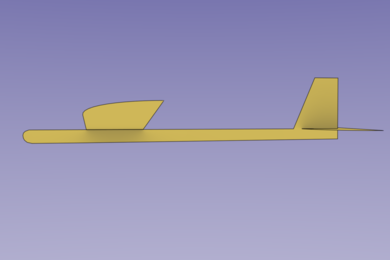
- Wings should have same amount of camber
- No uneven curves in wings or horizontal stabilizer
- Wing & tail surfaces should be smooth, not wavy. Remove any warps or unevenness.
Step 2: Straight & Level
Now do a series of test flights to get the plane flying straight and level.
As you are first learning, do this on a day with still air, no breeze. Once you learn how to trim, you’ll be able to do it even on a breezy day (by tossing into the breeze). Until you get a feel for how fast the glider should fly, you’ll have better results in still air.
The throw
- You have to learn how fast to throw the glider: Get a pebble or a pine code, give it a gentle toss so it lands about 10 feet away from you. That’s how hard to throw the plane.
- Pinch fuselage between thumb & index finger under the wings.
- Give it a level toss, straight ahead.
Goals
Plane flies straight ahead, not turning or rolling to the side.
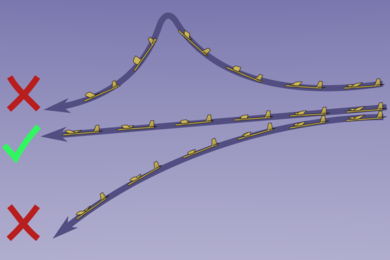
Level glide, not climbing or diving.
Steps
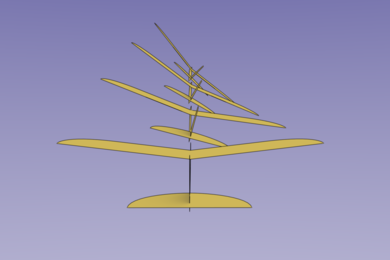
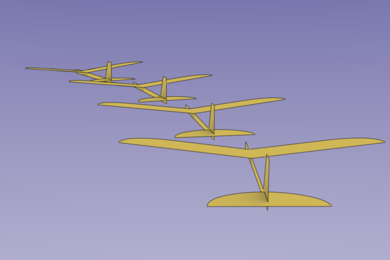
- Throw the plane several times and watch how it flies.
- Pick the biggest problem you saw and make 1 adjustment to fix the problem
- Repeat until plane flies straight and level.
Adjustments
These are the parts you will adjust:
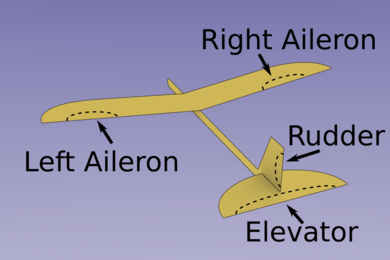
Here are the problems you may see after flying your plane, and the adjustment you need to make to fix the problem:
Plane rolls left: Bend left aileron down
Plane rolls right: Bend right aileron down
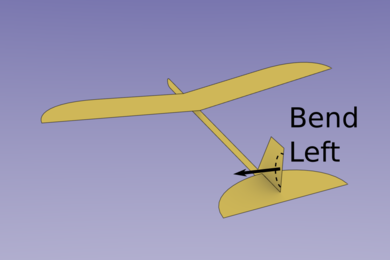
Plane turns left: Bend rudder right
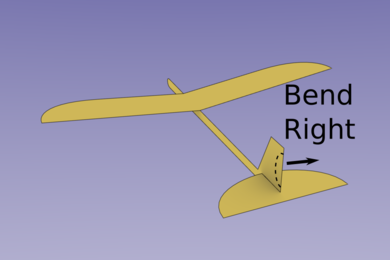
Plane turns right: Bend rudder left
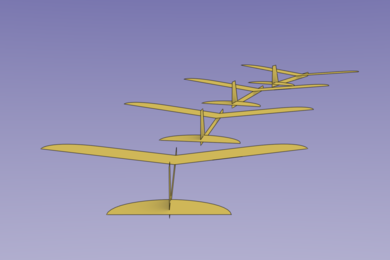
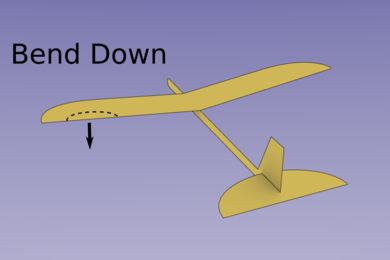
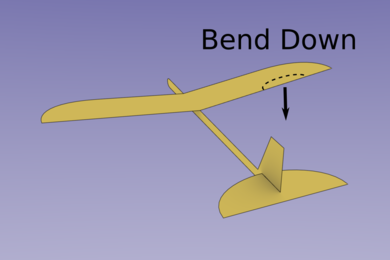
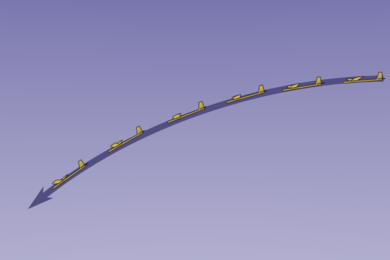
Nose pulls up, then falls: Bend elevator down
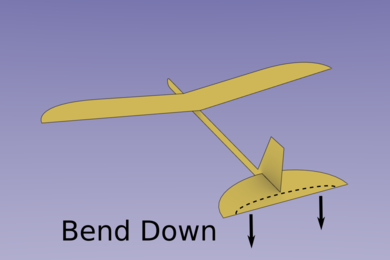
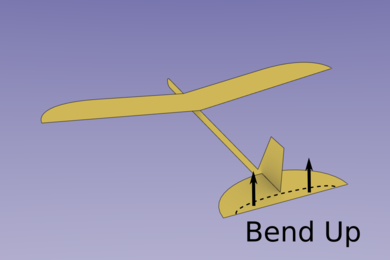
Plane dives towards ground: Bend elevator up
(This is very hard to do if there is wind because the wind will also make the plane dive & climb. With a breeze, even a perfectly trimmed airplane will be bouncing around as it flies. If you keep practicing, you’ll eventually learn to imagine how the gusts of air are affecting your plane. Until then, wait for a calm day.)
Keep flying & adjusting the plane until it flies straight & level.
Step 3: Left turn
Now that the plane flies straight and level, adjust is to make it turn slightly.
Why?
- If it flies straight, you’ll get tired of chasing it. If it flies in a circle, you won’t have to run very far (sometimes, it will even fly right back to you).
- I once lost a plane at a city park because I didn’t trim it to fly in a circle. It flew straight out of the park, across the street, and into a tree 150’ away from where it started.
- (Advanced) When you start trying to catch thermals, you’ll want the plane to circle so it stays in the thermal.
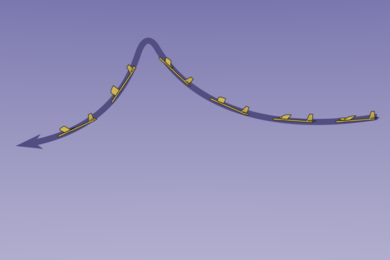
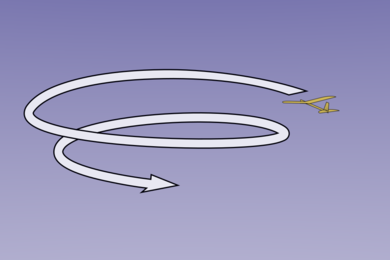
Add a slight bend to the rudder to make the plane turn left (if you throw with your right hand) or right (if you throw with your left hand). It should fly in a circle about 15’ to 20’ in diameter.
After making it turn, you’ll probably need to slightly bend the elevator up (but not so much that the nose pulls up then drops).
Done!
As a final check, throw the plane slightly faster. This time, the nose should pull up, then drop. If it doesn’t, that means the CG is in the wrong location. You’ll have to adjust the CG, then re-trim the elevator. See the advanced trimming guide.
Congratulations! Your plane is ready to fly!